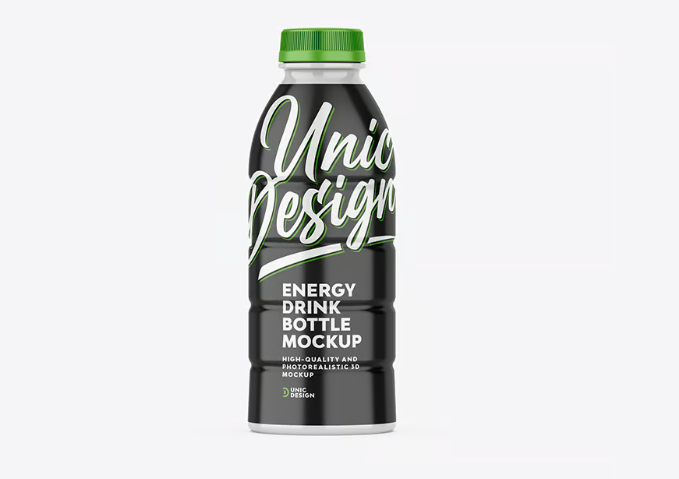
Sleeve labels, also known as shrink sleeve labels, are a modern packaging solution allowing full product branding in an aesthetic, durable, and perfectly fitted way. By covering the entire packaging surface, sleeves provide marketing teams enormous creative freedom but also require precision during application.
In this article, we share practical tips to optimize the sleeve application process and avoid common errors. You’ll also learn about label finishing techniques and discover which packaging types best suit sleeve labeling.
Shrink temperature – match it to the material
The key to proper sleeve application is selecting the right thermal conditions. Different materials require varying temperatures, and incorrect settings may cause graphic deformation or inadequate shrinking.
📌 Remember: Before starting production, perform shrink tests to perfectly match parameters to your specific product and graphics.
Shrink tunnels – which one should you choose?
The shrinking process occurs in specialized tunnels utilizing steam, hot air, or infrared radiation. Each type has specific applications.
Steam Tunnel
- Gentle, even shrinkage
- Excellent for PET-G and PLA materials
- Ideal for irregularly shaped packaging, delivering high-quality results
Hot Air Tunnel
- Economical option
- Suitable for simple, cylindrical packaging
- May dry out sensitive materials
Infrared Tunnel
- Precise control over specific areas
- Rapid shrinking process
- Requires experience and careful calibration
Common mistakes and how to avoid them
Mistake 1: Wrinkled or Misaligned Labels
🔧 Solution: Ensure stable product guidance through the tunnel and check label cutting accuracy. Poorly cut labels can shift.
Mistake 2: Uneven Shrinking
🔧 Solution: Use a tunnel with a multi-zone heating system. Uniform heat distribution is critical.
Mistake 3: Air Bubbles Under Labels
🔧 Solution: Verify that the product is dry and grease-free before application. Moisture or contaminants prevent perfect adhesion.
Mistake 4: Blurred or Distorted Graphics
🔧 Solution: Lower the temperature or adjust exposure time in the tunnel.
How to enhance sleeve labels?
💎 Sleeve labels don’t need to be “standard.” Modern technologies enable advanced finishing techniques, significantly enhancing brand image and shelf appeal.
Popular finishing methods include:
- Spot UV varnish – highlights specific graphic elements
- Cold stamping – metallic accents (gold, silver, copper)
- Thermal or fluorescent inks – change under heat or UV light
- No-label look – transparent labels that mimic direct printing
Combining several techniques delivers spectacular visual effects but requires precision in production and application.
Which packaging suits sleeve labels best?
- PET and glass bottles – perfect for beverages, cosmetics, and chemicals
- Irregularly shaped packaging – sleeves adapt flawlessly even to unusual forms
- Pharmaceutical packaging – sleeves can serve as both protection and information carriers
- Premium products – full-body decoration enhances perceived value
Sleeves also excel in multi-component packaging—functioning as a protective or informational band.
FAQ – Frequently asked questions
1. Can sleeve labels be applied manually?
Yes, although it’s time-consuming and inefficient for large volumes. Automatic applicators are recommended.
2. Is every graphic suitable for sleeves?
Graphics must be specifically designed considering shrinkage (often requiring distortion artwork adjustments).
3. How do I select a tunnel for my product?
Consult your sleeve label provider—selection depends on material, packaging shape, and visual expectations.
4. What are the implementation costs for sleeve technology?
Depending on production scale: from several thousand euros for basic systems to tens of thousands for full automated lines.
5. Can sleeves be combined with other labels?
Yes—in some cases, sleeves complement standard labels.